Resistance Spot Welding Electrode Work
Basics Of The Spot Welder
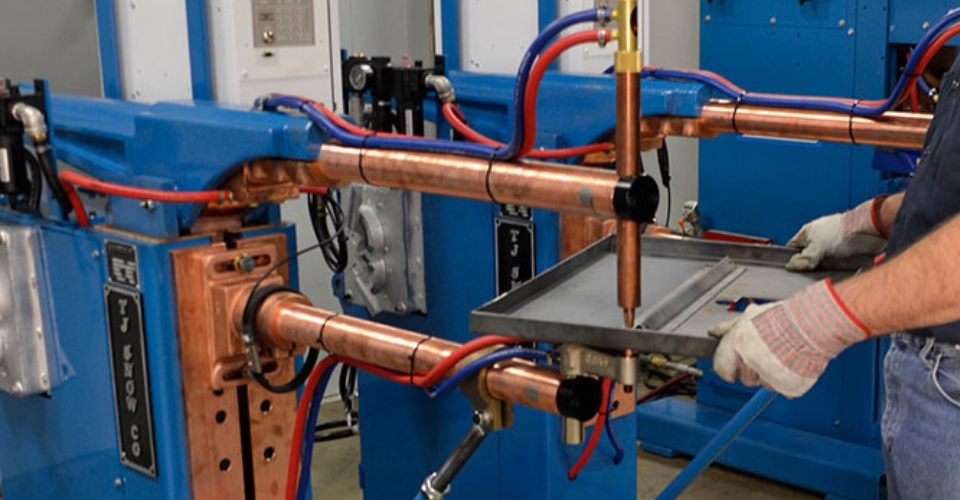
The heart of all spot welders consists of a power supply and welding electrodes. The transformer ramps up the amperage output to around 10-12,000A, but lowers the voltage anywhere between 1-20V. The numbers will vary among the spot welder types, brands, and models.
The typical portable spot welder you are likely to use will also include a transformer, electrode holders, electrodes, lever, and a pressure cylinder.
These manual machines have less power than industrial resistance spot welding equipment.
Alignment Of Workpieces And Metallic Sheets
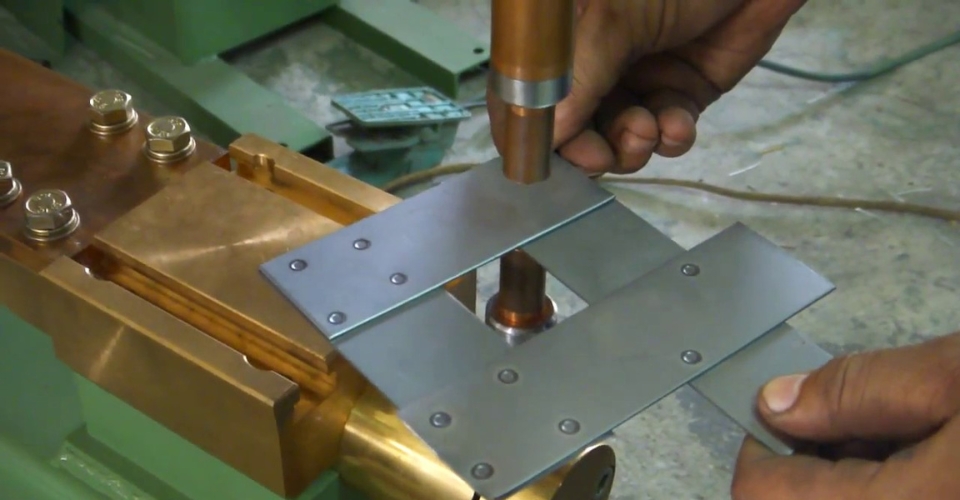
Before making your first resistance spot weld, you have to align the workpieces. Keep in mind that warping and distortion are possible.
The first few spot welds should be placed strategically. If possible, arrange them so that one will prevent the other from distorting the metal.
Reusing the sheet metal is difficult if your weld is misaligned. You are better off starting with fresh metal pieces of the workpiece is distorted.
Applying Electrode Pressure
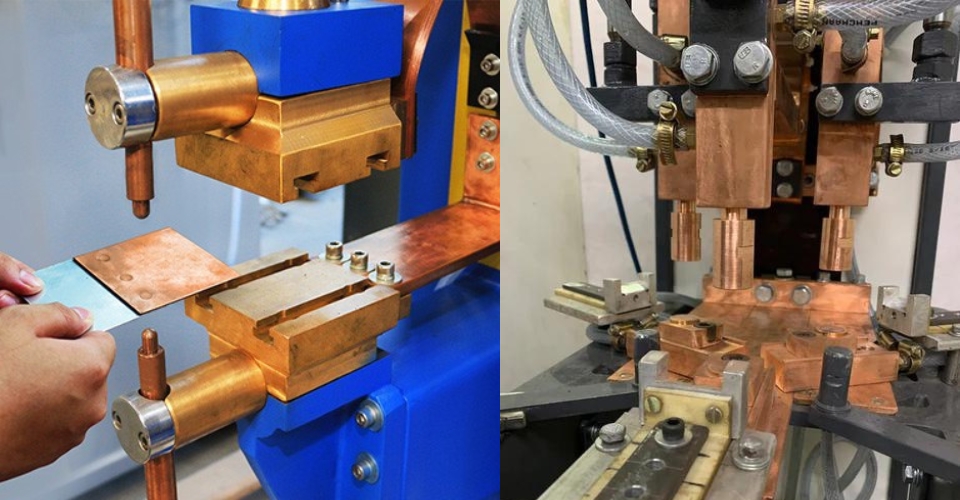
Next, you must choose the electrode type and apply pressure to the point where you want to make a spot weld. Most of the time, you can use the standard copper electrodes. But depending on the welded metal, you may need to use a tungsten-copper, tungsten, or molybdenum electrodes.
There are also copper-chromium, and copper-chromium-zirconium electrodes used when welding high and low carbon steels. The ISO 5182 covers all resistance welding electrodes in detail.
Once you accurately place the electrode tips on the metal, you need to apply pressure. You achieve this by using a lever when working with a portable spot welder.
Flicking a switch lets the current flow through the electrodes and into the metal pieces. The internal resistance melts the metal while the electrodes’ pressure solidifies the nugget.
The amount of heat the metal will produce depends on the electrical resistance of the metal, thermal conductivity, and how long the current is applied. Heat is expressed with the following equation:
The “Q” is heat, “I” is current, “R” is electrical resistance, and the letter “t” represents the time duration of the applied current.
Spot Welding Variables
The entire spot welding process can be modified by applying different pressure, electrical input, and current durations. These modifications allow you to weld different metal types, thicknesses, and achieve different spot welding results.
Electrode Force
Electrode force squeezes the metal sheets together and you have to apply substantial force to create a quality weld. The stronger the applied force, the lower the resistance because of better contact and less heat is generated. So if a project requires a higher electrode force, you need to increase the current to offset the lower resistance in the metal.
The typical force is around 90N per mm2. However, thanks to the “mushroom” electrode tip on the spot welder, the contact surface area between the electrode and the sheet metal increases as the weld progresses. That’s because the metal’s surface will morph to fit the electrode tip shape, and the sides of the tip will then also come in contact with the metal. So, to keep the same electrode force on the piece during the welding process, you need to increase the applied force gradually.
Squeeze Time
Squeeze time is the interval between the moment you apply the electrode force and initiate the current flow. Delaying the weld current is necessary because it allows you to attain the proper electrode force. It also helps with electrode wear, arcing, and interfacial expulsion.
While increased squeeze time improves spot weld quality, it increases the cost per spot weld. This is mainly because it takes more time, and results in a reduced number of welds per unit of time.
Welding Time
Welding time is the period when active electric current flows through the metal pieces. It’s computed using line voltage cycles. Welding time is difficult to determine because it relies on the welding spot reaction.
Factors to consider when determining the welding time:
The weld time should be as short as possible. This prevents melt-through, warping, and protects the electrodes
Thick sheet welding should result in a nugget with a large diameter
If your equipment can’t provide the necessary weld current and electrode force, you can compensate with a longer weld time up, to a point
Welding sheet metal thicker than 2 mm may require dividing the weld time into multiple pulses to avoid excessive heat
Holding Time
Holding time is necessary to allow the weld nugget to solidify. This period starts after the welding time ends, and the electrodes are still applied to the metal.
The electrodes chill the weld by conducting heat away from the spot. You shouldn’t overdo the holding time because too much heat flow to the electrodes can accelerate their wear. Additionally, if the welded metal has a high carbon content, a prolonged holding time can cause brittle welds.


